Friday, February 15, 2019

Basteltraum's Challenge #74 Color Combo


Hello, crafty friends!

Are you ready for spring, too? Well, I am! I really am. I miss the beautiful colors of flowers and all the greenery... so that's why I have made a very spring like card as an inspiration for the latest challenge over on Basteltraum's blog. Theme this time is simply a color combo. At the very bottom of this post you will find it :-)

So let's see what I did... the cherry blossom branch is a complete die and I diecut it from plain white watercolor cardstock and colored everything with my regular watercolors in halfpans (I used the ones from Pébéo this time). The MEGA friend die is cut 4 times and stacked on top of each other. This way, you can achieve a gorgeous dimensional look. Then I added a little "HELLO" which is embossed with WOW embossing powder.The panel itself is sponged with some pigment ink by Mama Elephant. And to finish off my design I glued a teeny tiny rhinestone into the center of each blossom. By the way, those rhinestones are actually meant to be embellishments for nail art, but I like them more on a card, haha :-))

So I hope you will play along with us!

Happy crafting and warm hugs!


Saturday, December 15, 2018

Basteltraum's Challenge #72 Shaker card / special shape


Hi everyone!

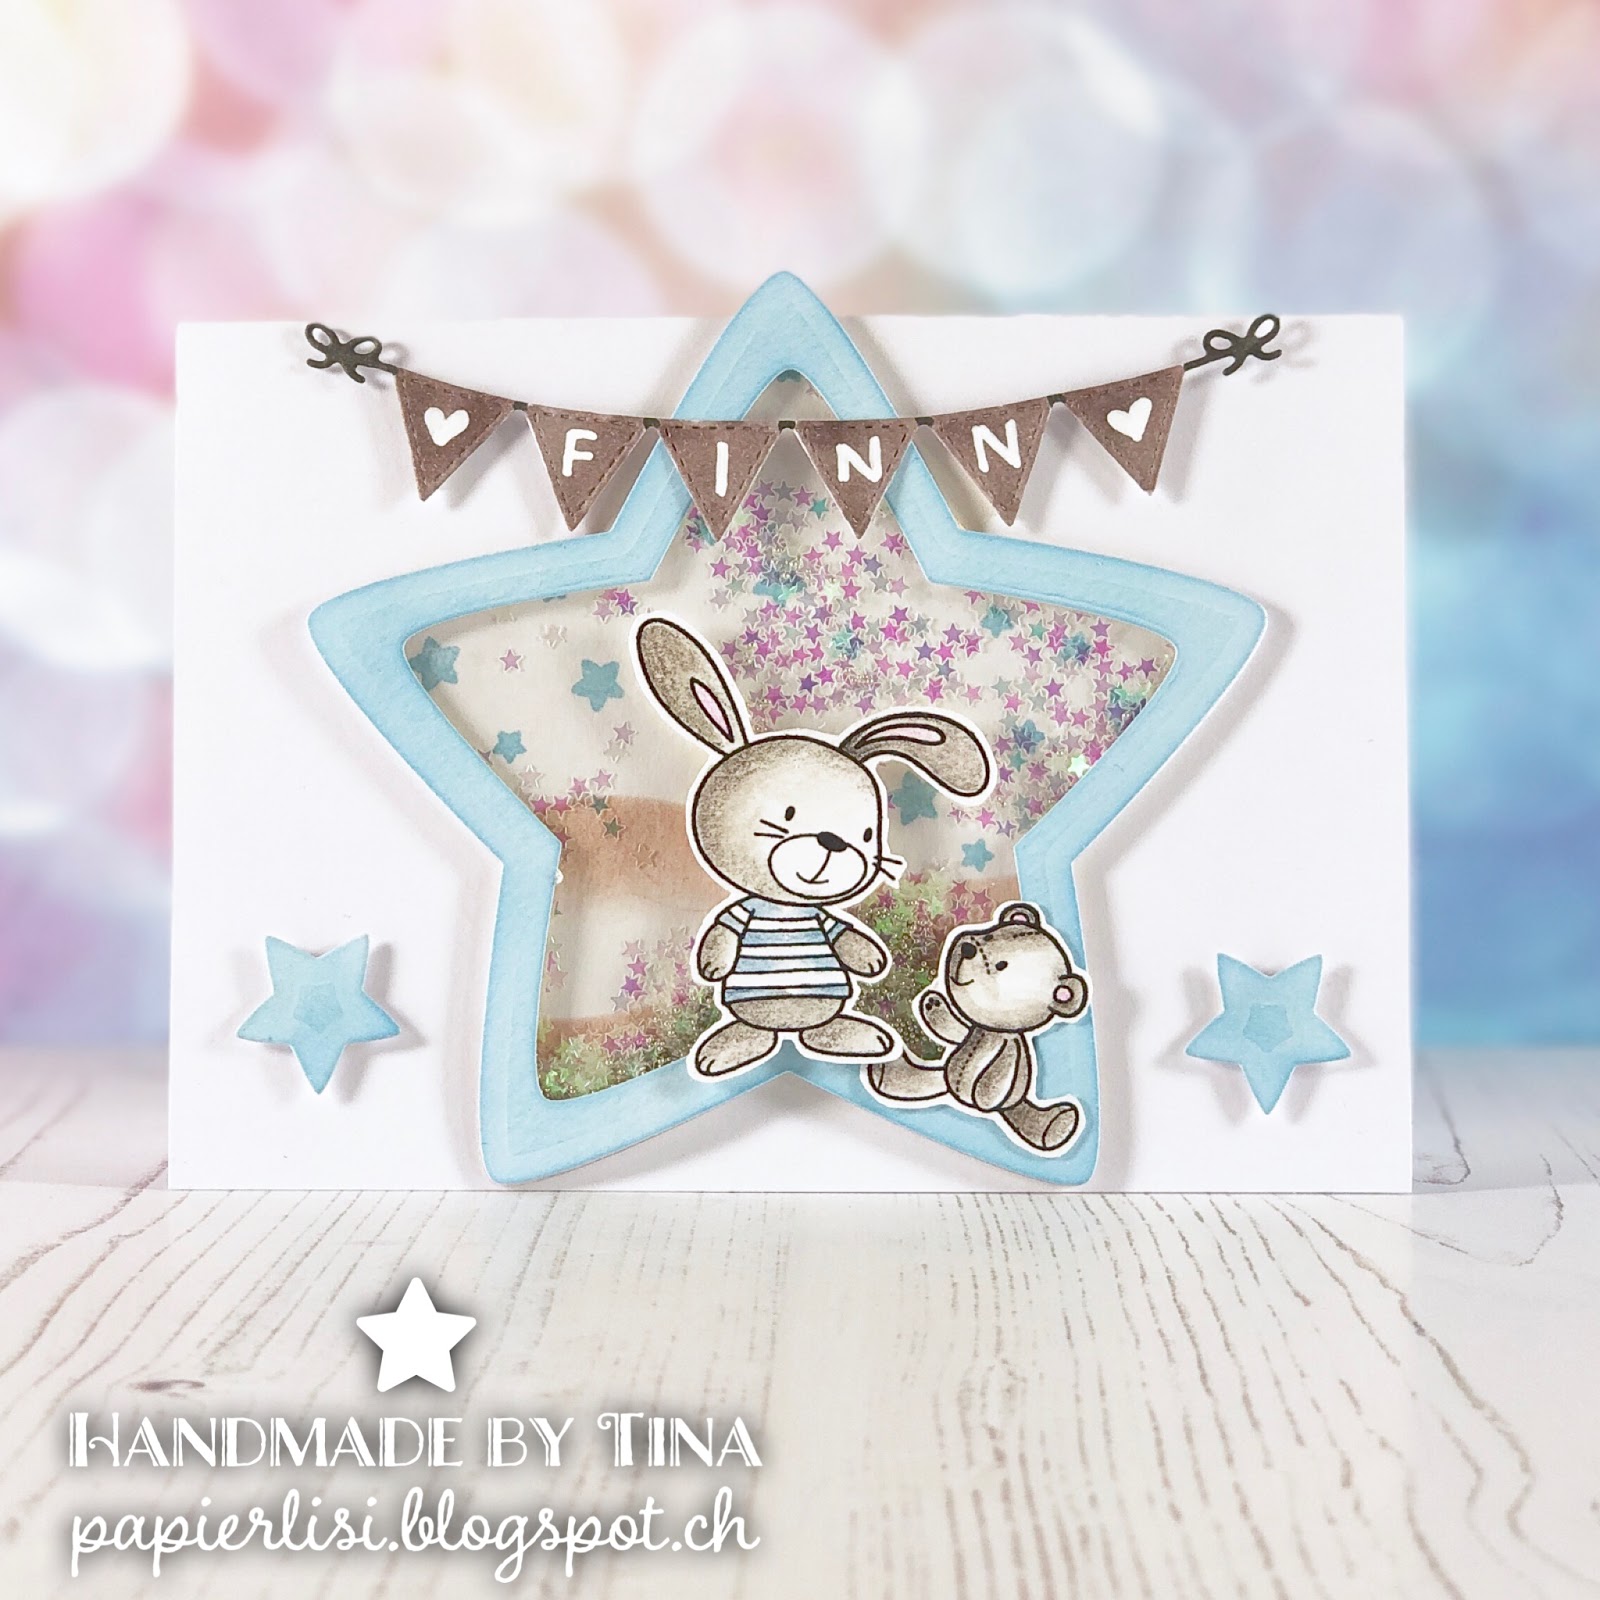
Today we are starting with a very creative Basteltraum challenge which is all about shakers and/or special shapes! I paired both themes on one card and created a shaker card with a star shape.

And it is easier than it looks, ha! :-)

I nested two star dies by Lawnfawn in to each other to create a star frame and diecut another piece with the bigger star die as a backside and one piece out of acetate for the shaker window. Be very careful when glueing the acetate onto the star frame, otherwise you will see the glue on the edges.

The background of the star is sponged with dye ink and the stars are stamped with pigment ink.

Then I flipped the window over, put some foamtape (I cut very thin stripes) around the the edges and treated them with some antistatic powder to prevent any stickiness on the sides - those microbeads can be a pain when they get stuck on the  foam tape :-)))

so now I put the backside veeery carefully onto my window and pressed it really well down. You need to make sure that the foamtape gets stick everywhere. I mean EVERYWEHRE. Otherwise, those darn microbeads will season your craft table, and your floor :-)))

For coloring the sweet bunny and its cuddly teddybear, I used some watersoluble colored pencils and a waterbrush.

The bunting is colored with copics - I used a same shade of brown to match the color of the bunny. The name of the boy is written with a white Copic marker.

Two diecut stars finished off my design on the card.

I hope you like this special shaker as I do and got inspired to give it a try, too! Special shapes really give the something extra to a card I think :-)


Happy crafting, enjoy your weekend!

Big hugs,


On Instagram

© Papierlisi. Made with love by The Dutch Lady Designs.