Birthday

Wednesday, July 12, 2017

Birthday happy mail for a lovely friend


Hi guys!

Today I have a very special card for you. First, because it is for a very sweet and special crafty friend of mine, sweet Steffi. So again, happy happy birthday to you, Mausi!! And this brings me to my card for her. As we call each other "Mausi" (which means "mousie" in German) this digital stamp seemed PERFECT for this occasion! You can find that image over on Isabel's etsy store and many more adorable digital stamps. Isabel is crazily talented and super sweet. And I am so proud to call her as dear friend of mine, too. So you might check out her instagram feed too, she creates so many adorable things!

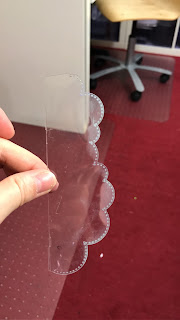
I wanted to create something special for Steffi, so I went for a flexible shaker card with no bulk at all. I used my fuse tool to create a pouch for my shaker elements. This tool is super handy and so easy to handle. I definitely can recommend it! I filled my pouch with all those tiny bits and pieces and closed it with the final fusing line. So easy!


As the whole front will be transparent, I had to create a back part of the hot air balloon. But Isabel made it an easy job, as she did include the back side of the mouse in the digi stamp set. So I cut out the mouse and adhered it to the plain hot air ballon. Voilà, here is my backside! ;-) The images are all colored with my copics. The cloudy sky is sponged with Disdress oxide ink (broken china). I have to admit - those inks are GREAT for seamless blendings!  They flow like butter ;-)

I diecut an extra frame out of white cardstock for sandwiching my shaker pouch between the card base and that frame. I used a very strong tape adhesive, I think this works best for such small and thin areas.

Then I glued the hot air balloon onto the pouch and the back on the inside onto the pouch and voilà - here is my special birthday card for Steffi! :-)

I hope you like it and you will give it a try as well!

So I just hope my card has arrived today and Steffi will like it, too!

Thanks for stopping by and have an amazing day!

Hugs,


Monday, May 15, 2017

Basteltraum's Challenge #53 : All about men and boys cards


Hello my friends!

I am just popping in with a veeery simple and quick card! I was thinking of a solution to use my, let's say, 1278 rolls of washi tape I have in my stash.... I bet you are with me, huh??! :-)))

So for the new challenge of Basteltraum (which starts today) we had to create a card for men and/or boys. So I grabbed all my blueish and greyish washi tapes and created those super simple birthday cards: I just taped side by side pieces of different washi tapes in a row, cut out a "Happy" (it is a word die from MFT which does not cut at the bottom. Then I extended the cut with my craft knife in a straight line to the end of the paper) and glued this stripe over the washi tapes.  For more interest, I diecut a frame and mounted it with some foam tape over to the panel. Some stars and a tiny birthday tag (bot cut out from balsa wood) finished off my design. So easy! Most of the time took me to figure out my design - the cards were made in 20 minutes both!

I hope you got inspired and I would love to see you playing along with us!

Crafty hugs,


Wednesday, February 15, 2017

Bastel-Traum's Challenge #50: Birthday / Birth cards, white and one color of your choice


Hello my crafty friends!

How are you today?

It seems there is a horde of super mean germs on the way - me and my family are having a kind of constantly cold - I am soooo ready for spring!!!

Nevertheless I found some time for crafting because today starts a new challenge over at bastel-traum's blog! It is all about birthday, birth cards a lot of white and a color of your choice!

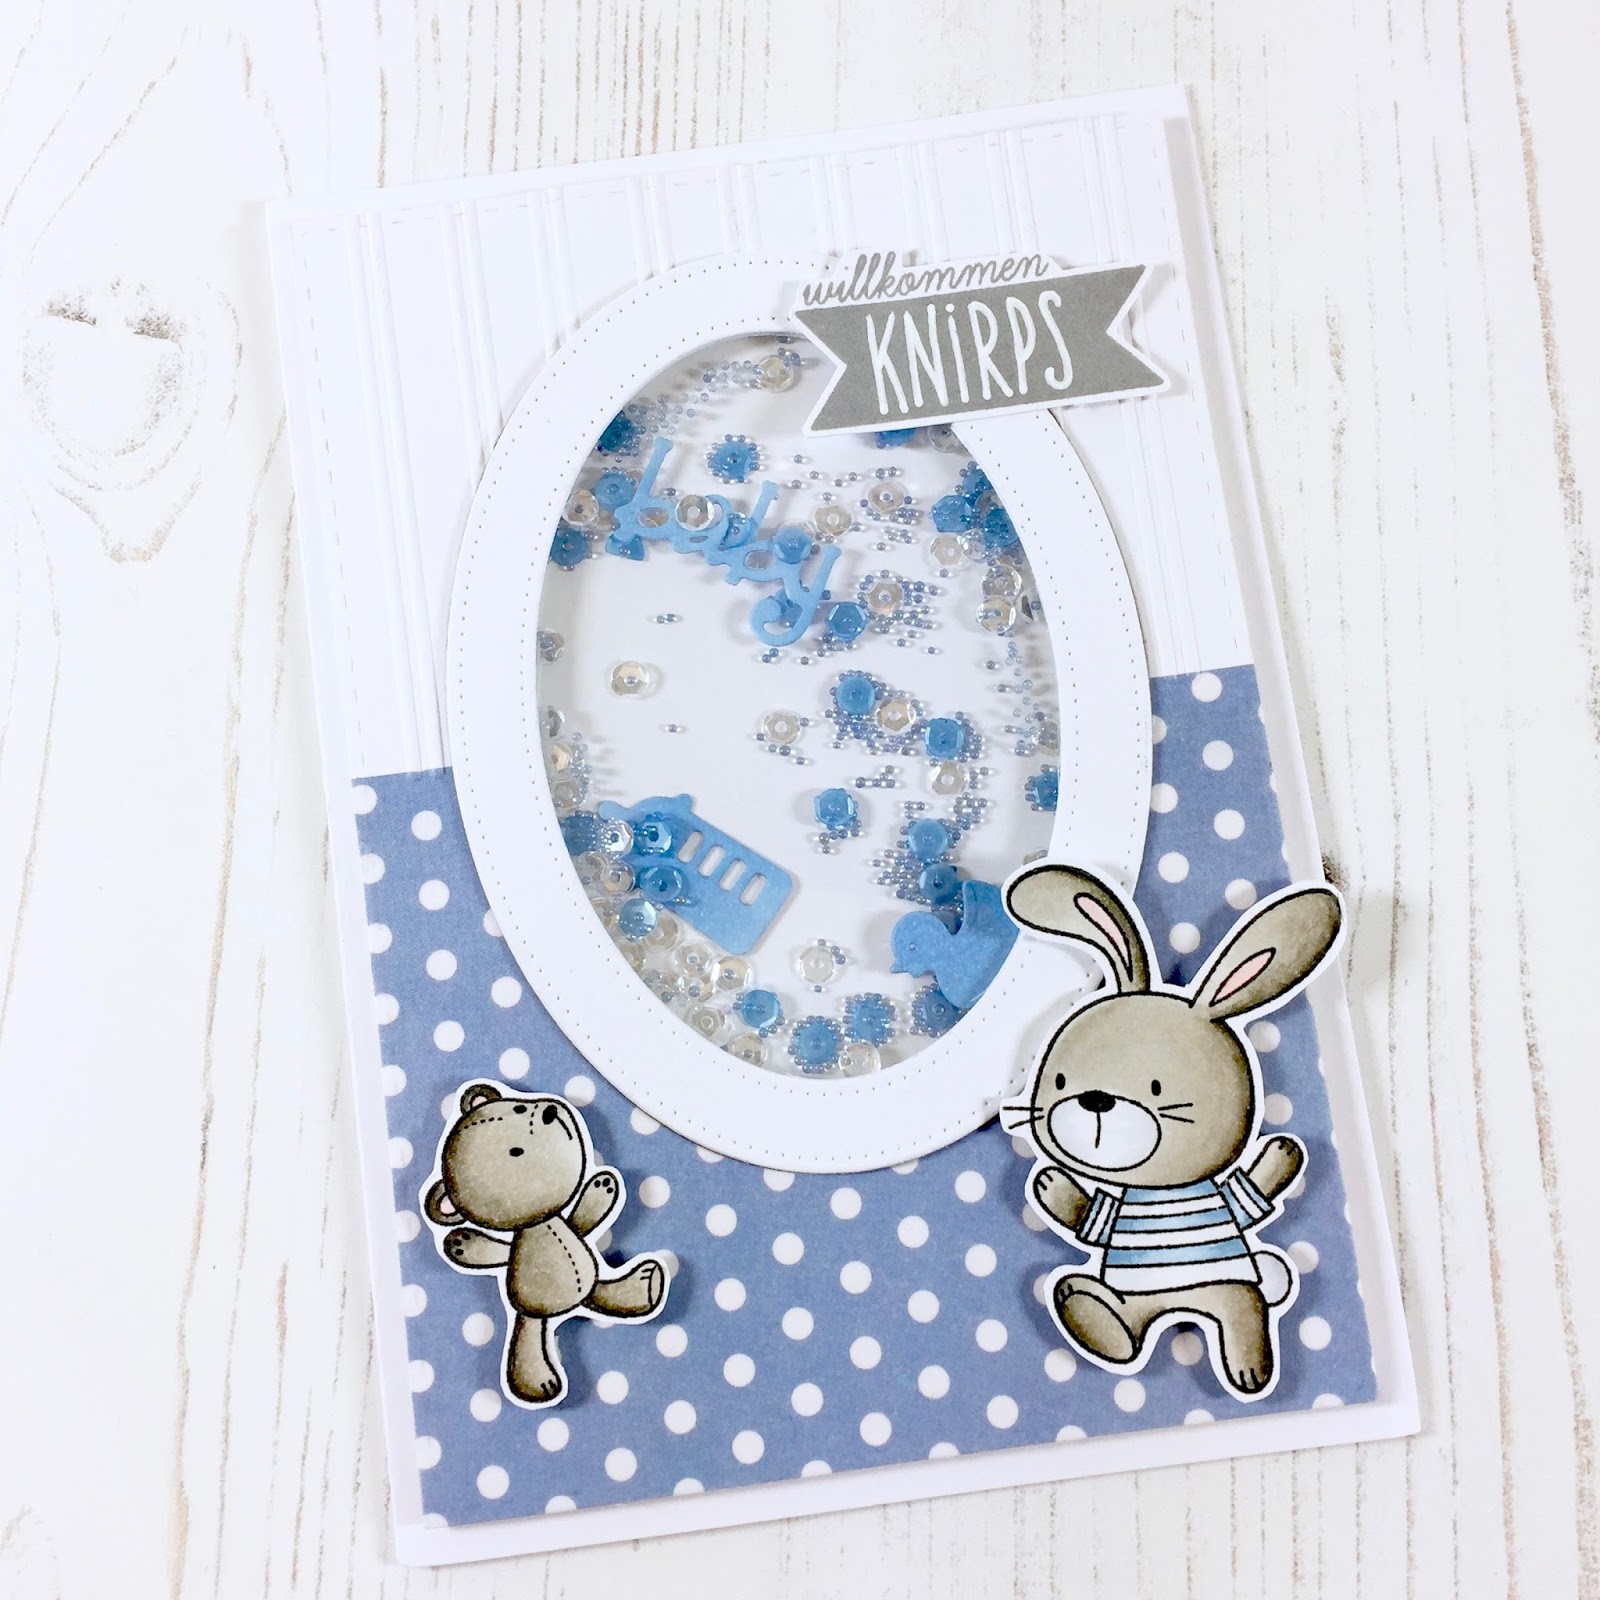
That's what I came up with - a cute shaker birth card with some dicut pieces in it and a lot of sequins and micro beads. The stamps are by MFT and I colored them with my Copics. For the background, I used some washi sheet (the blue part with the white polka dots) and on the white top portion I used an embossing folder to imitate some wallpaper. The sentiment is by Createasmile and it means "welcome little bundle".

I hope you play along with us, as this is such an easy theme and lovely to play with!

Have a great day!

Hugs,


Saturday, June 6, 2015

Let's shake :-)

Tadaa.... :-) meine erste Shakercard! Irgendwie sieht es immer so einfach aus in den Tutorial-Videos, aber wenn man dann selber dran rumchnüüblet, ist es dann doch nicht ganz Ohne :-D

Das Stempelset heisst "Life is Good" und ist von Lawn Fawn. Auch die Stitched Rectangle Die und ebenso das Fenster, das ich ausgestanzt habe. Das Papier ist auch aus der Kollektion von Lawn Fawn und heisst Polka Mon Amie.

Coloriert ist alles mit Copic Markern und da und dort noch einen Hauch Wink of Stella. Das Fenster habe ich mit einem Stück alter Hellraumprojektor-Folie beklebt - die sind prima und schön stabil.

Let's shake! :-)

One-Layer-Card mit Copic-Markern


So, gestern Abend habe ich mich mal an eine einschichtige Karte gewagt, welche ich hauptsächlich mit Copic-Markern fabriziert habe. Zuerst habe ich die Ballon-Buchstaben mit farbigen Stempelkissen von Lawn Fawn gestempelt (die Stempel  sind übrigens sehr cool, die haben ein separates "Schwänzli" zum dranstempeln, dass man die Buchstaben einfach so oder eben als Ballone verwenden kann) und das kleine Äffchen. Dann habe ich mit FV2 und B79 den Hintergrund coloriert. Das braucht ziemlich Zeit, denn man muss sehr vorsichtig um die Ballone und das Äffchen herum fahren. Dann muss man sich auch Zeit nehmen, dass die beiden Farben einigermassen einander fliessen. Die Farben sind nicht ganz optimal zum mischen, es gäbe bessere Farbkombinationen für diese Technik. Aber frau nimmt halt, was die eigene Copic-Auswahl hergibt :-)
Danach habe ich mit dem Colorless Blender von Copic die Punkte gemacht im "Lichtstrahl" und das ebenfalls mit dem B79 im dunklen Bereich wiederholt.
Dann habe ich mit E33, E42 und E44 das Äffchen coloriert und ihm dann noch mit R20 kleine Bäggli verpasst. Der weisse Birthday-Stempel ist mit Versamarktinte gestempelt und nachher mit weissem Embossingpulver embosst.
Als Finish habe ich das Äffchen mit Glossy Accent überzogen und die Ballone sowie die weissen Sternchen (die sind aus meinem Stanzvorrat) mit Wink of Stella verglittert. Damit sich die "genähte" Linie von der Rechteck-Stanzschablone besser abhebt, habe ich diese mit einem weissen Gel-Pen nachgezogen. Noch flugs 5 Sequins aufgeklebt und fertig ist die One-Layer-Card! *freu*. Hier findet ihr übrigens ein tolles Tutorial, bei welchem ich diese Karte "abgeschaut" habe ;-)

On Instagram

© Papierlisi. Made with love by The Dutch Lady Designs.