Tuesday, December 15, 2020

Basteltraum's Challenge #96: Interactive and/or shaker card


Hello my crafty friends!


Can you believe it - 2020 is almost over! Where the heck has this year have been??! A lot of weeks just disappeared in a cloud of staying home, home office and social distancing... gah! But thankfully we are having a hobby that is virus safe, isn't it!!!


And so we are coming to the last challenge for this year, hosted by bastel-traum.ch!


This time, it is all about interactive and/or shaker cards!! Wohoo, this is such a fun one! Yes, I am a big fan of interactive cards, lol.


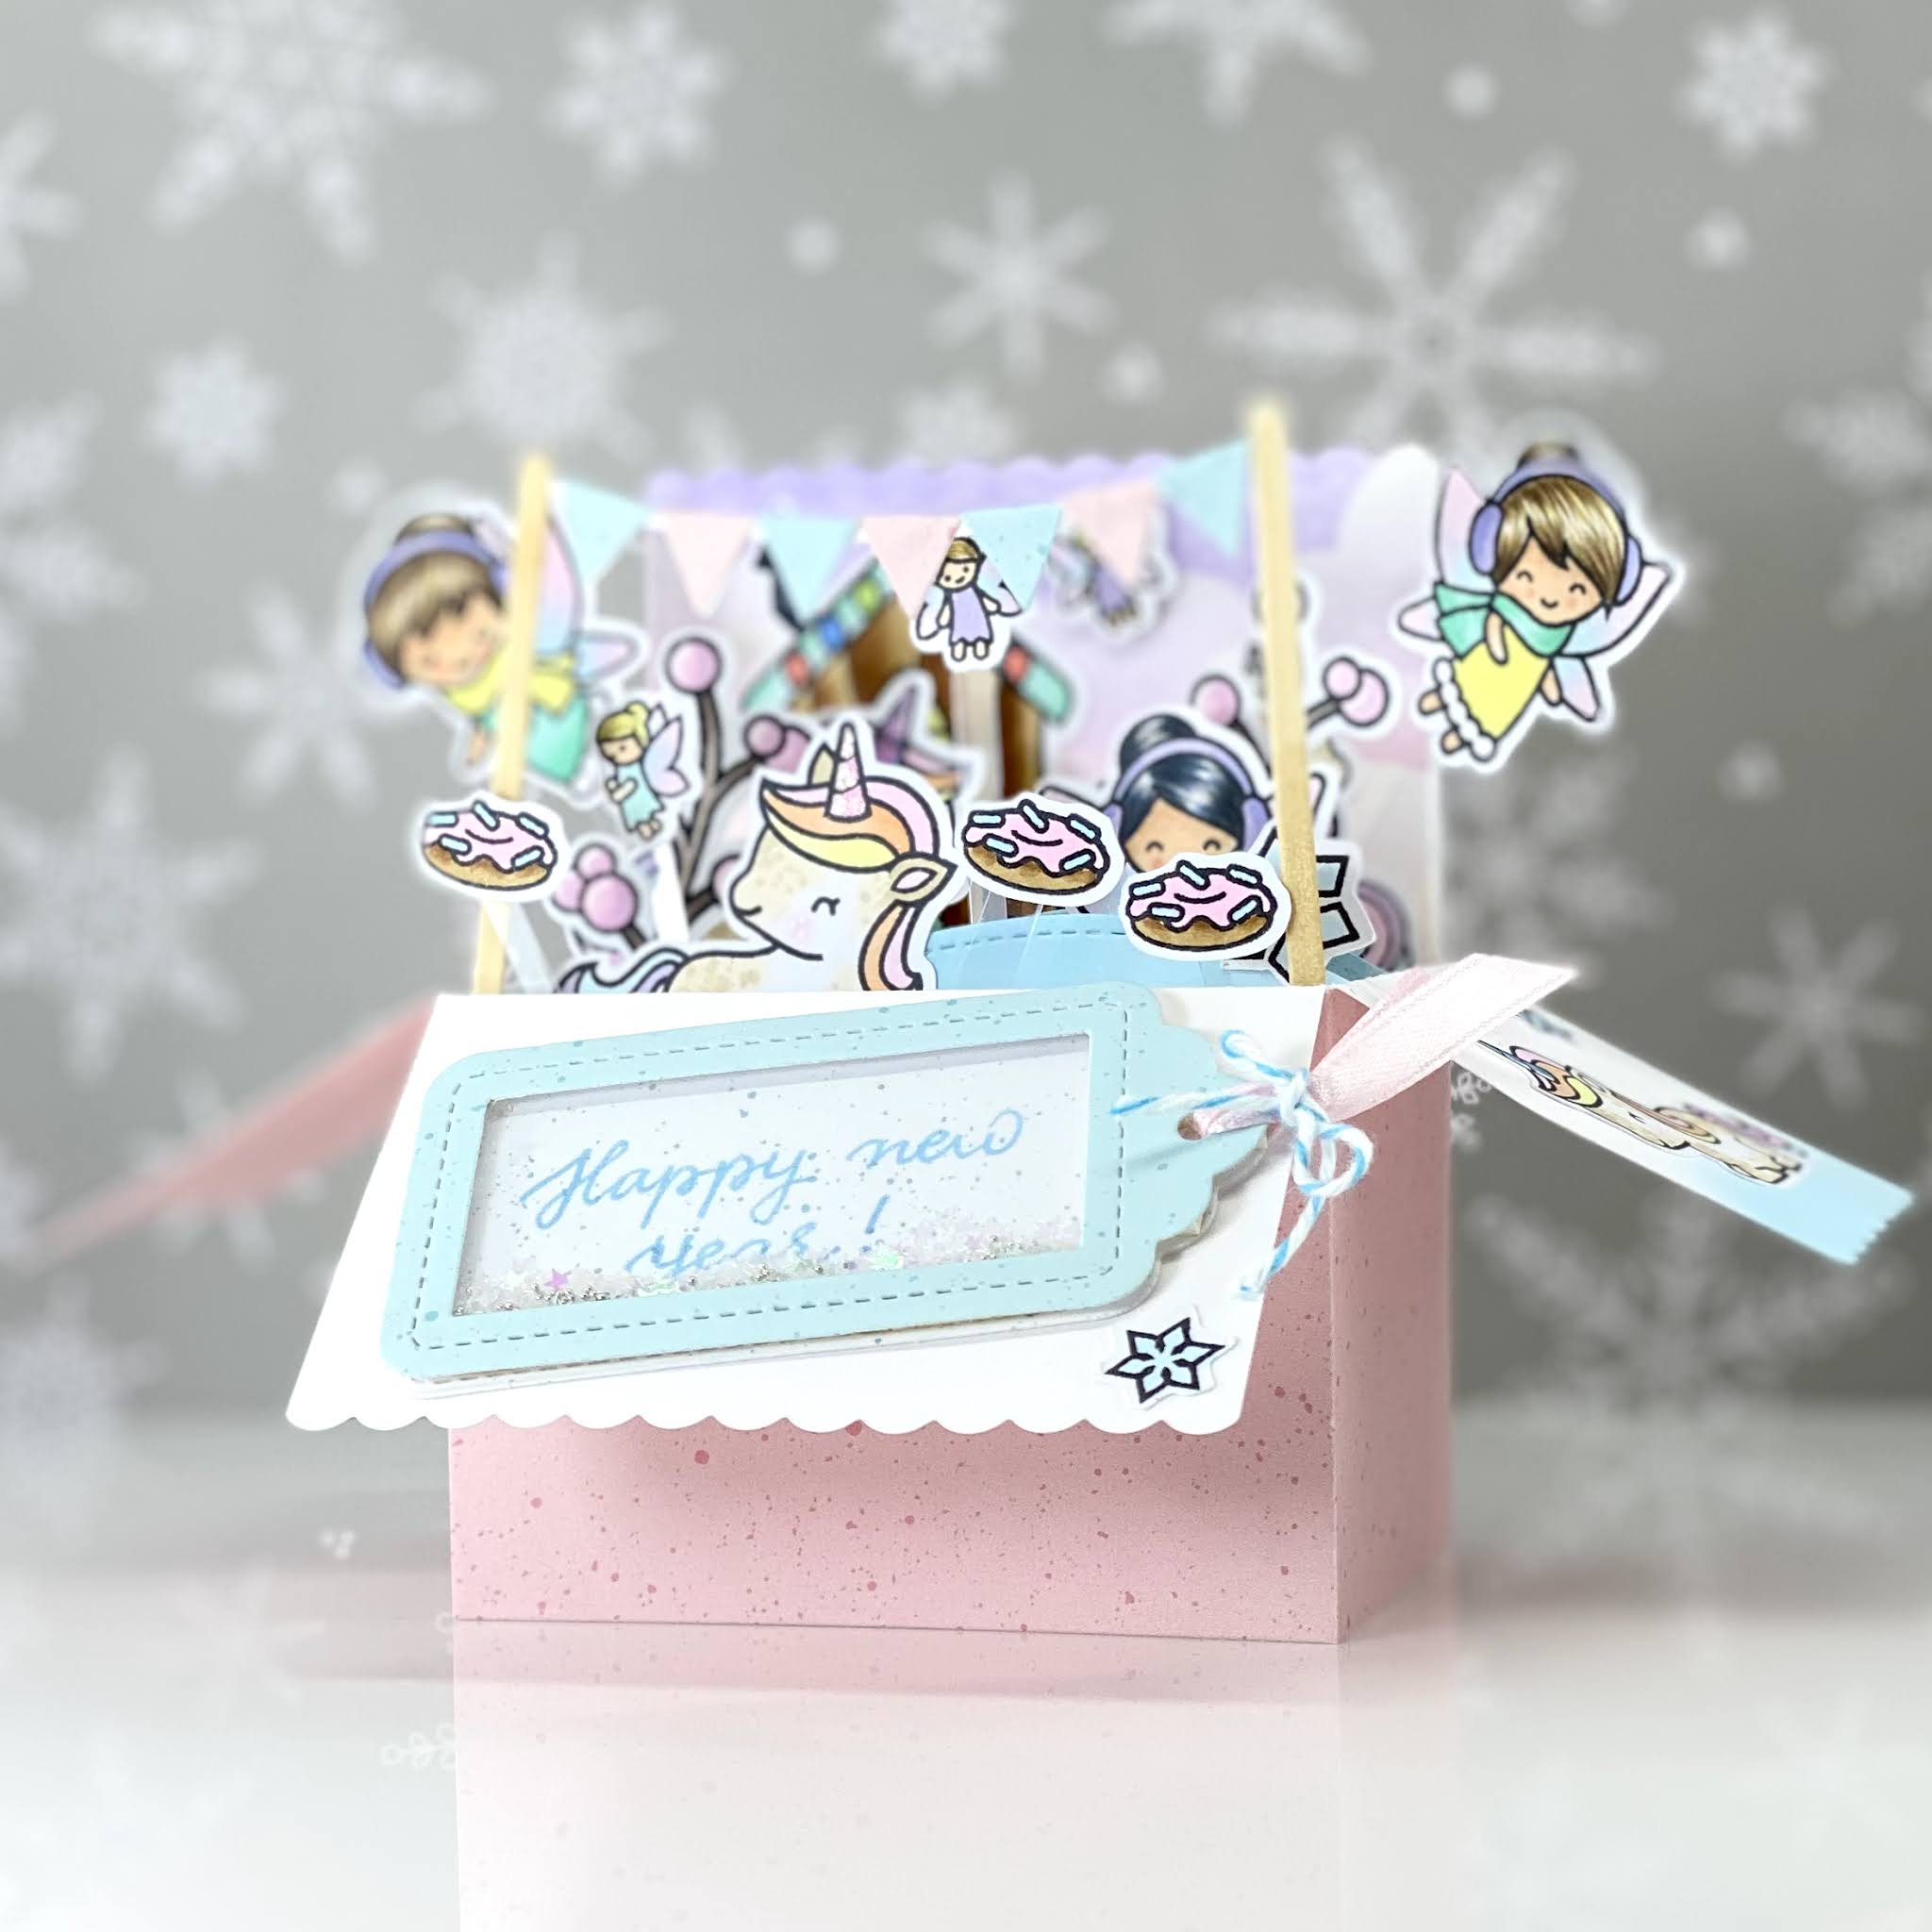
I created a pop up box card with lots and lots of colored images, all in a pretty pastel tone. I used copic markers, Polychromos pencils and glitter pens for coloring. The box itself is diecut out of patterned paper (spiffy speckles by Lawnfawn) and also the stamp sets are all by Lawnfawn (3 different ones, to be precise): unicorn picnic, a little sparkle and Frosty Fairy Friends.


Then I created an extra teeny tiny shaker out of a gift tag - because you know, I love going the extra mile for my cards :-) I filled it with glitter stars and micro beads for the extra shaky sound, I love that!


So I hope you got inspired and still find some time playing along with us - see you over there on bastel-traum's blog!


Thanks for stopping by and MERRY CHRISTMAS!!


Big squeezing hug from me to you,


Sunday, November 15, 2020

Basteltraum's Challenge #95: Winter


Hello, crafty friends!

I welcome you to the latest challenge over at bastel-traum's blog, and it is all about winter themed cards. YAY! I am truly ready for winter, what about you? I miss the cold air, we had so many hot days this year and I cannot wait for the first snow!! So at least on my card it already has arrived, lol.

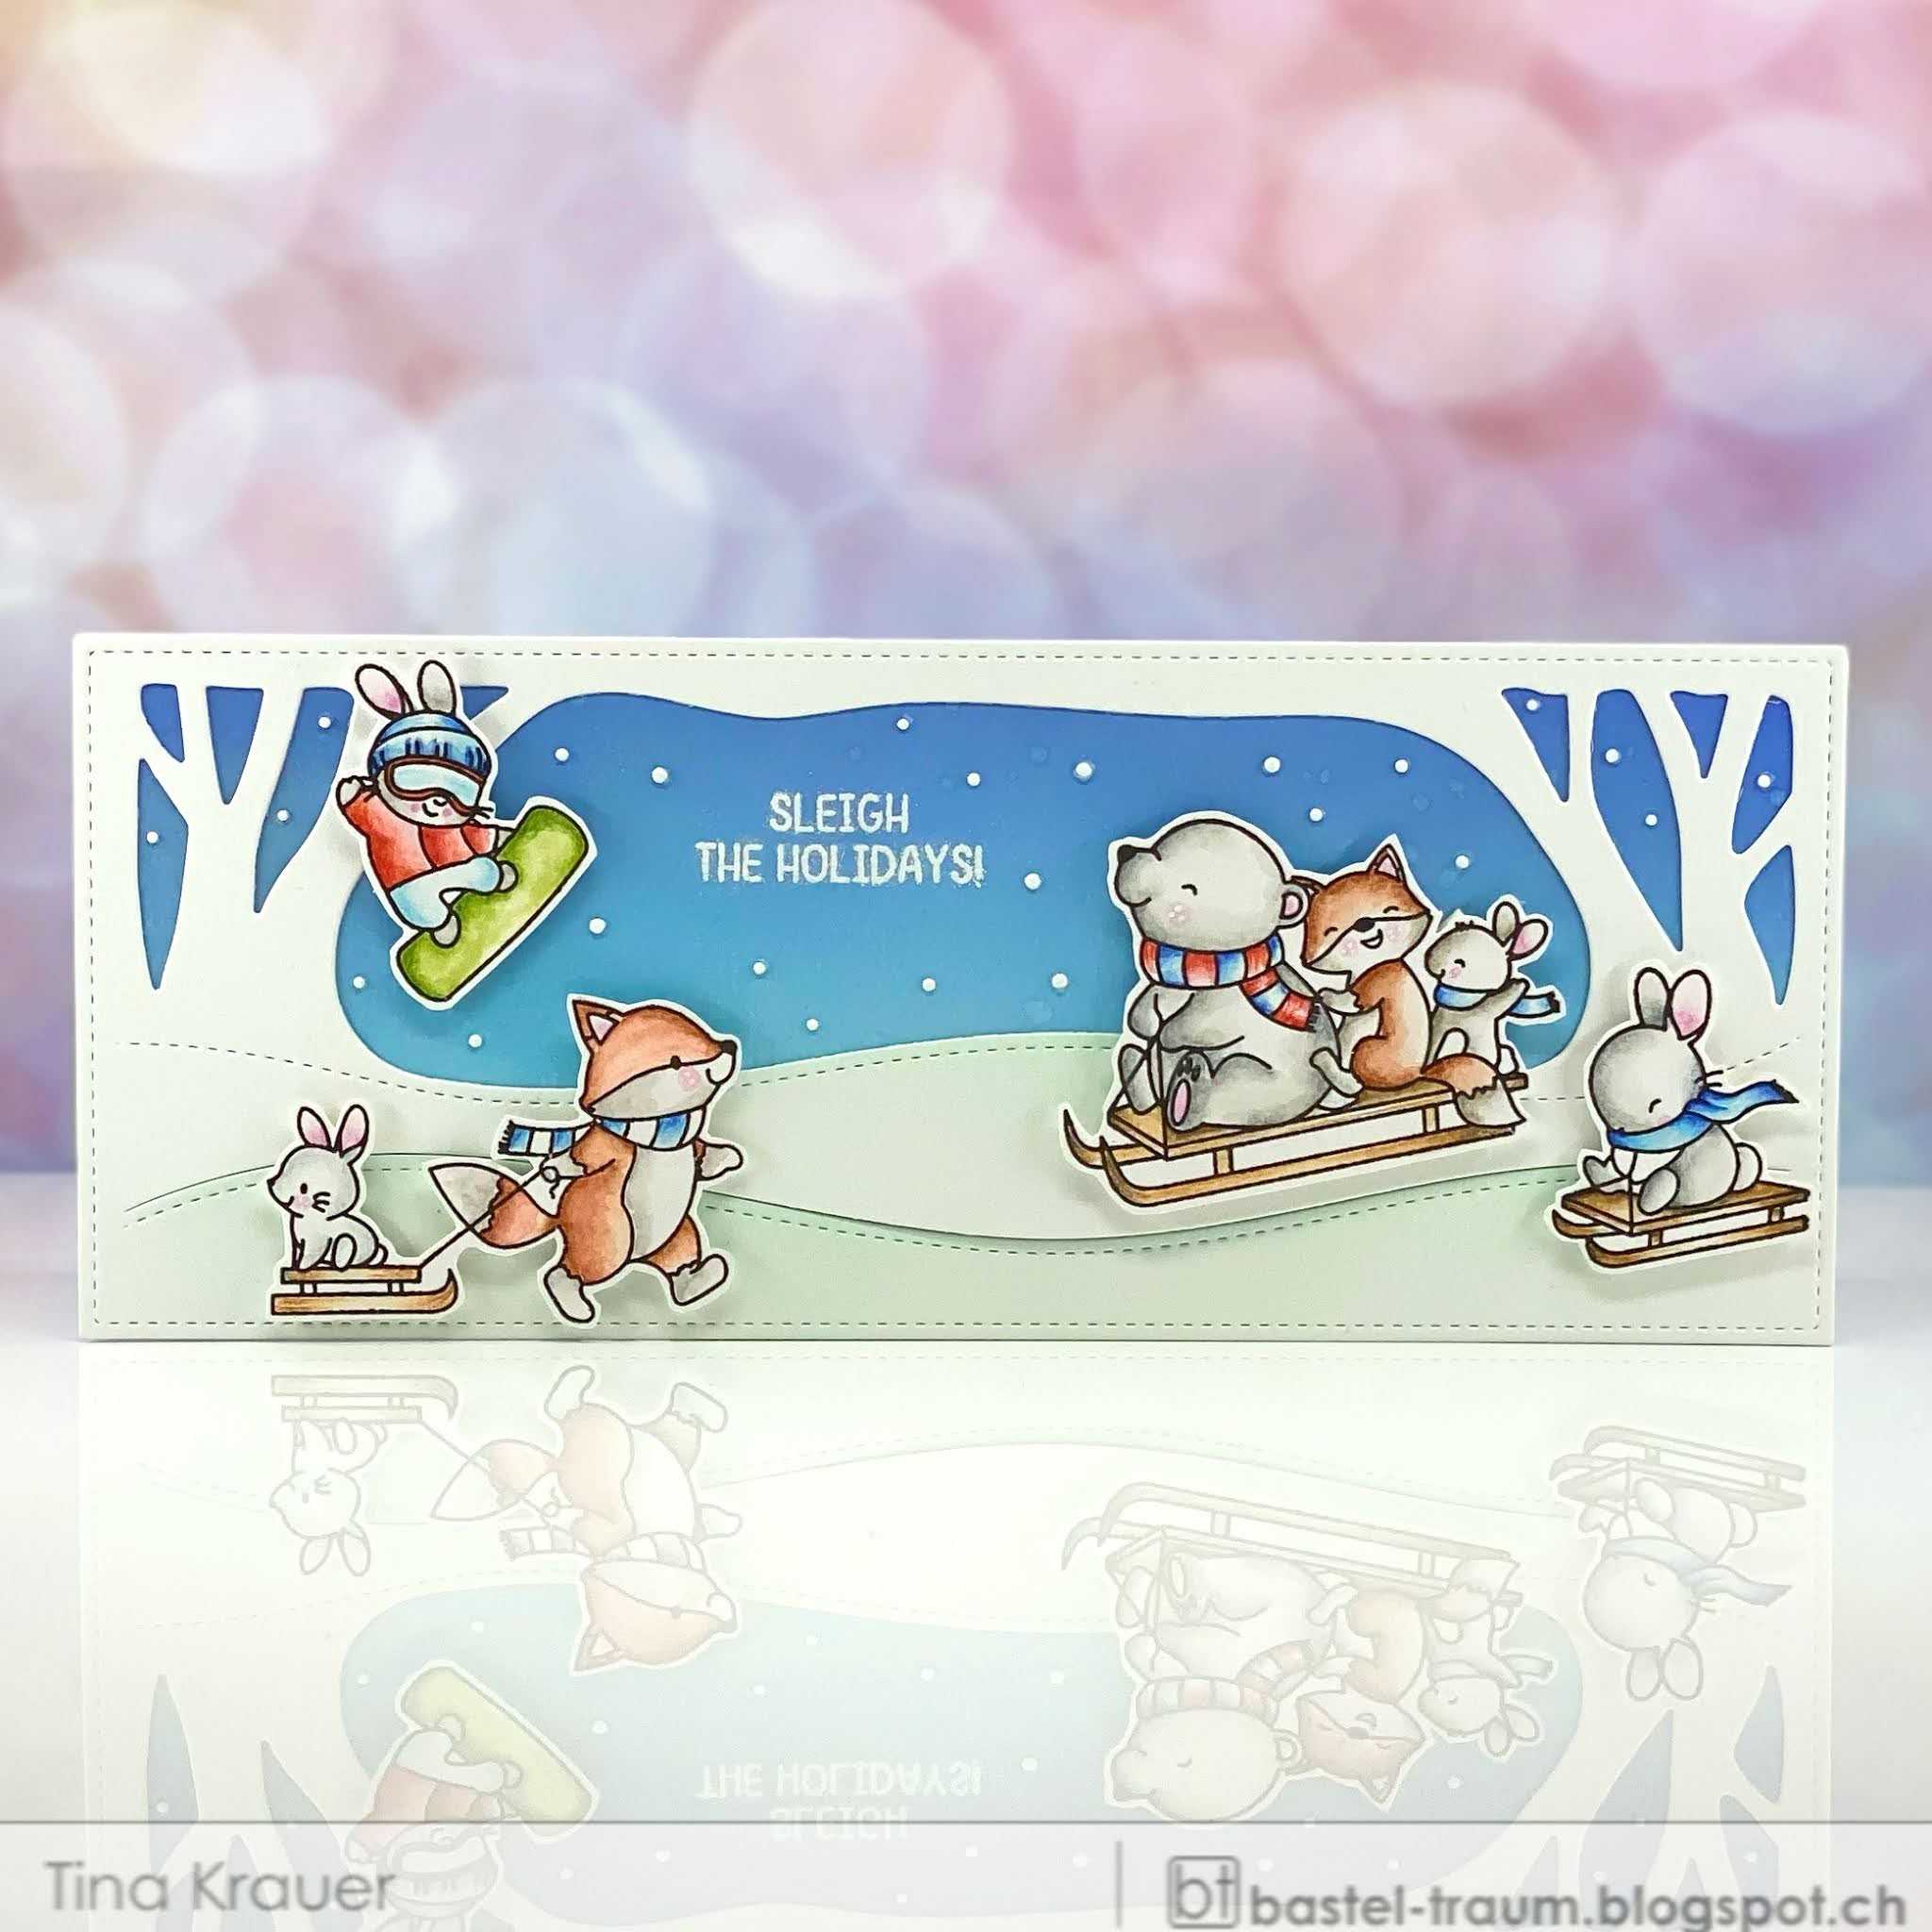
I played with some products by Mamaelephant (dies and stamps). The background is cut with a backdrop die called "slim woodland" and the stamp set is called "Dashin thru the Snow". I colored all images with watercolor markers and watersoluble pencils and fussy cut them by hand afterwards.

Then I sponged a piece of watercolor cardstock with Disress oxides - with tumbled glass and blueprint sketch. I ADORE this combo! It gives such a nice blend! Then I spritzed some water onto the panel, waited a few seconds and pressed a paper towel on it for absorbing water and the lifted color. For the extra vibrant finish you might try to put a layer of Distress glaze (it's the same as Micro Glaze) - just rub it with your fingers over the panel, it makes it waterproof plus extra shiny and vibrant! Love it. Plus, in case you want to put nuvo drops on it, the drops won't stain anymore from the Distress oxides underneath, HA! :-)

The diecut piece is only sponged with a tint of "Minty Fresh" dye ink on the snowy slopes, the rest is plain white.

Then I glued the two pieces together, heat embossed the sentiment and glued some white dots (which are actually leftovers from the slim woodland diecut) as snowflakes onto the blue background. Then I mounted all my colored images with some foam tape on the panel as well. Voilà, there you go for a wintery, fun scene! :-)

By scrolling down you will find some pictures from the process - I hope it helps in case you want to try this, too!

Thank you for stopping by and see you over there at the challenge!

Happy crafting,


On Instagram

© Papierlisi. Made with love by The Dutch Lady Designs.